
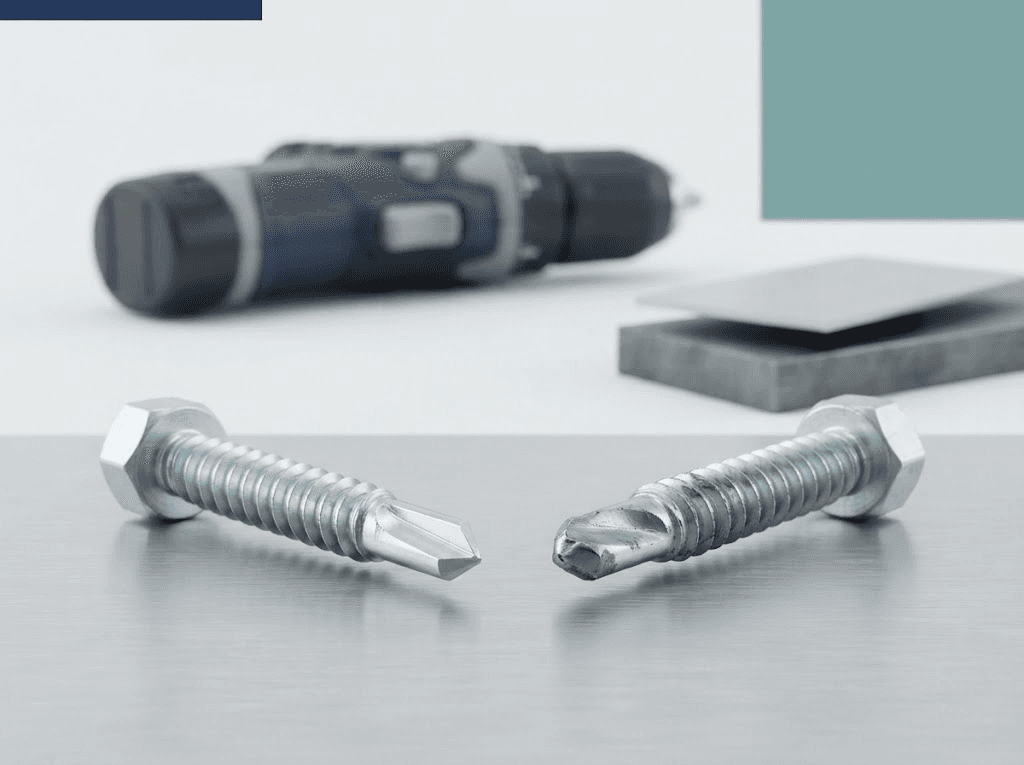
Why Self-Drilling Screws Fail to Drill: A Substrate and Installation Checklist

Han Congming
AuthorWith experience in screw and fastener manufacturing and sales, we operate our own production facility with stable large-scale capacity. We are specialists in self-drilling screws, drywall screws, chipboard screws, machine screws, bolts, and customized fasteners for construction and industrial applications.
A self-tapping screw that does not penetrate metal poses three questions for the buyer: whether the installation setup requires correction, whether a different screw is needed for the application scenario, or whether the supplier should investigate the product?
First, record the position where penetration stops. Match this position with the material and the selected screw, and then check the installation conditions. Based on the inspection results, decide which question needs to be answered next.
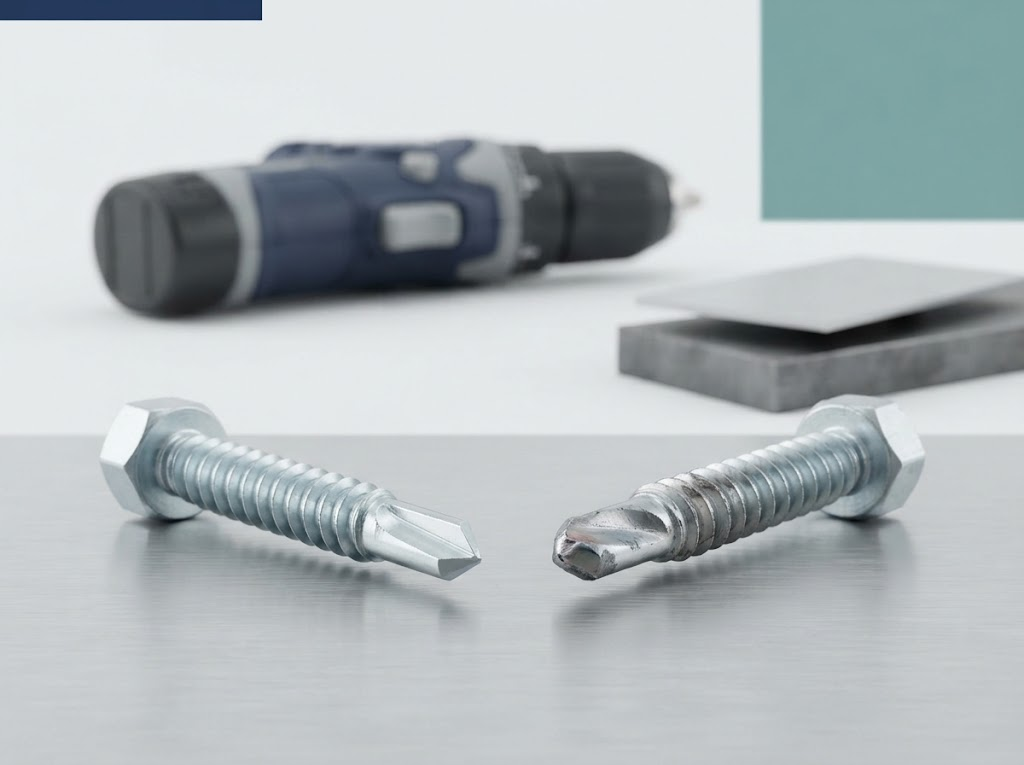
Identify the stage where progress has stalled
Accurate description of symptoms: The drill never starts drilling, the drilling speed slows down, or the screw penetrates the upper layer of board and stops at the support.
If the hole has been drilled but the screw is rotated without being tightened, it should be separately recorded as a thread engagement or clamping issue. This article focuses on the situation of drilling failure; it does not evaluate the load-bearing capacity, sealing performance, or corrosion resistance of the finished connection.
When a screw is rotated without drilling, issues such as opposite rotation direction, unsuitable material hardness, and damaged tip may occur. The specific cause cannot be determined solely based on this symptom.
Before replacing the screw, confirm the assembly condition first
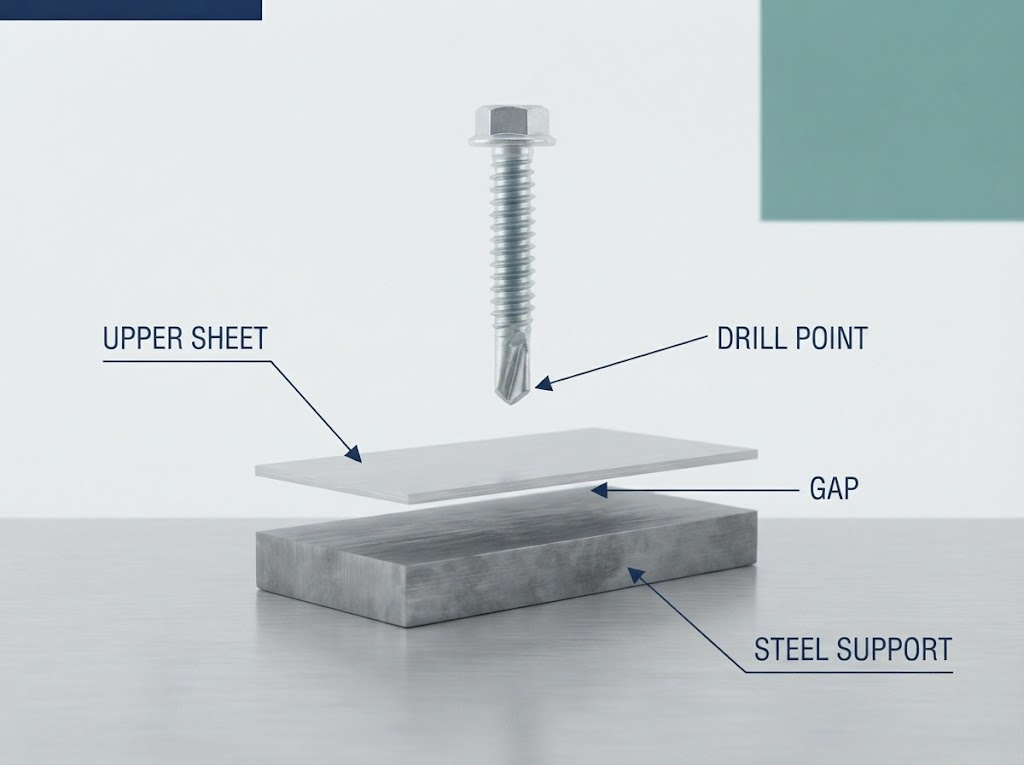
Provide cross-sectional drawings or layer-by-layer descriptions. Specify each material, its thickness, any spacing, and the location where drilling stops. If possible, please provide the material grade or relevant specifications; missing information should be marked as "unknown".
For roof screws, please describe the sheet material and supporting components separately. For brackets, please describe both the bracket and the base material. Avoid simplifying the assembly into a single overall thickness without showing its specific arrangement.
Confirm these selection criteria with the supplier:
- Specific screw model, drill point design, and expected base material.
- Applicable drilling capacity range and material conditions.
- Required screw length, clamping range, and thread engagement degree.
- Installation instructions for the item and the application.
When comparing drilling capabilities and clamping ranges, the definitions provided by the supplier should be used. Product documentation may explain these definitions separately. Longer screws or familiar point names are not sufficient to prove their suitability for a specific joint.
Arrange examinations based on symptoms

This form serves as a starting point for evidence collection, rather than a diagnostic result or a universal toolkit.
| Symptom | Check before proceeding | Next step |
| No penetration rotation | Motor direction, unused point condition, substrate specification | Confirm the direction and compare the unused sample with the faulty sample. |
| Drilling speed is relatively slow, and visible wear or deformation is observed on the drill point | Product applicability and specified installation conditions | Retain the sample; review the speed and feed requirements. |
| Stop after penetrating the plate | Lower material and thickness, joint layout, and application restrictions | Use the assembly drawing request for selection review. |
| Chip damage or crack | Force application conditions, unused point conditions, and batch identification | Record and save the sample for investigation. |
The manufacturer's guideline supports inspections of rotation, tip condition, material, speed, and applied force. [1][2] Visible damage cannot be definitively attributed to installation, product selection, or manufacturing issues.
Before adjusting the speed or strength, please refer to the product manual first
The geometry of the drill point and the chip clearance can affect the penetration force. For traditional self-drilling designs, the guiding section must complete the required drilling before the threads engage prematurely, causing stalling or damage. Confirm how the selected design applies to actual assembly.
Speed variation also needs to be considered in context. EJOT explained that excessively high speed can damage the tool tip, while excessively low speed can hinder chip removal. Please follow the requirements for specific screws and materials; this list does not provide general speed (RPM), force, or torque values.
Record the tool model, operating mode, speed setting, and the condition of the drill bit or socket. Consider the recorded settings as a configuration; only report the measured operating speed after actual measurement. Before proceeding with further testing, request the supplier to confirm any missing installation requirements.
Compare experiments without losing evidence
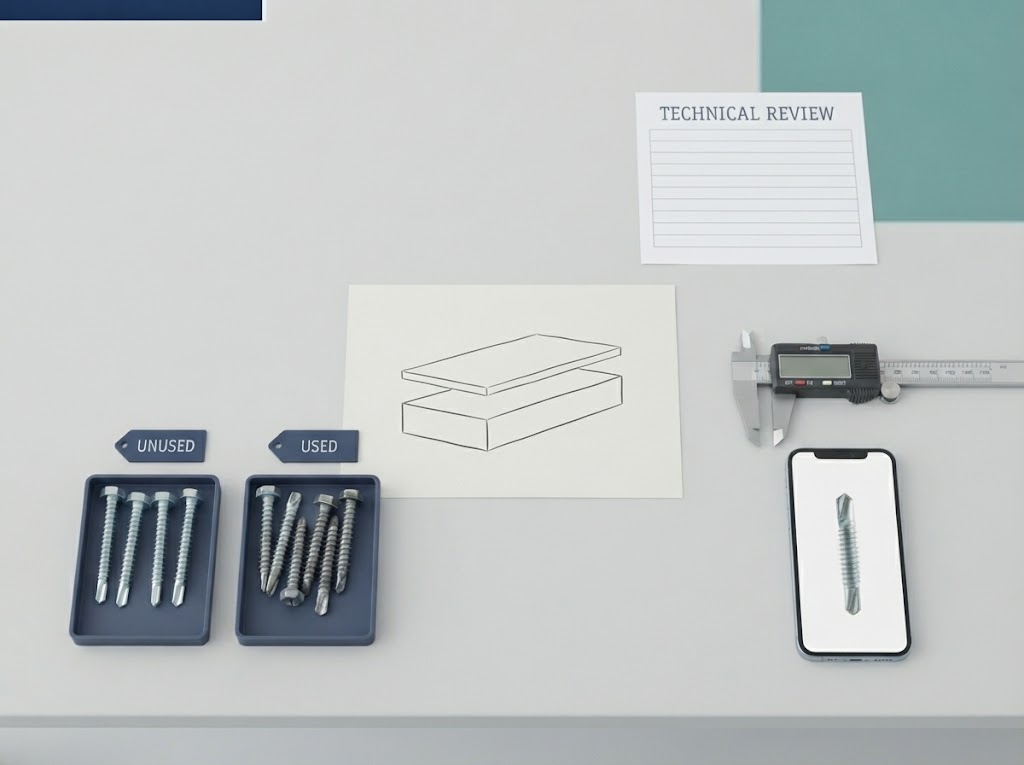
In cases where testing is required, reach an agreement with relevant technical personnel on test specimens, permissible settings, and acceptance criteria. Record materials, assembly, and procedures, and vary only one variable at a time.
According to the agreed test method, use fresh test samples, retain failed screws, and maintain the identifiability of the batch. Record the results and whether they recur. A successful installation does not verify the effectiveness of the production batch, nor does it prove that the finished joint meets its design requirements.
If batches perform differently under comparable recording conditions, an investigation should be requested. Such differences justify the examination of samples and records; however, they do not in themselves prove the existence of manufacturing defects. It is essential to reach an agreement on the number of samples and acceptance limits in application, rather than making inferences based on this checklist.
Send a complete record for technical review
For ScrewTrade inquiry, please prepare:
- Assembly drawings, materials, and the thickness of each layer.
- The current model, size, point details, and batch identification of the screws.
- Tool details, settings, and description of the drilling stop position.
- Photos of unused and failed screws, as well as any test records.
- Required decisions and expected order quantity.
Inquire whether the application falls within the scope of the documentation for the proposed product, and what further information or testing is required. Before approving replacement orders or bulk orders, please obtain the applicable specifications, installation requirements, and agreed-upon evaluation criteria.
For structural or other performance-critical connections, product selection recommendations and trial drilling must be reviewed alongside the project's design and acceptance requirements. The procurement records should specify what has been confirmed and what still needs to be verified.
Related News
Other news you might be interested in
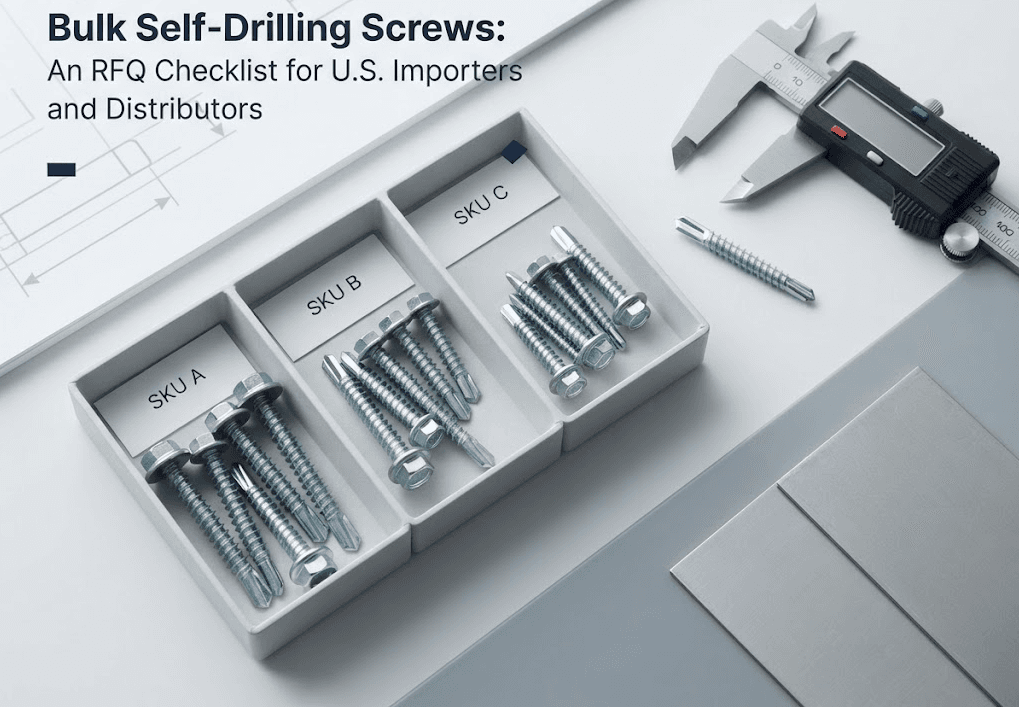
Bulk Self-Drilling Screws: An RFQ Checklist for U.S. Importers and Distributors
When sourcing bulk self-drilling screws, a unit price is only useful if you know exactly what it covers. Two quotations may appear to describe the same product while differing in dimensions, coating, packaging, or delivery conditions. For U.S. importers and distributors managing several SKUs, those differences can make supplier comparisons difficult. A clear request for quotation—an RFQ—helps suppliers understand your requirements and gives your purchasing team a consistent basis for reviewing their offers. This checklist explains what to include, which details need confirmation, and how to turn an initial inquiry into a specification that both buyer and supplier can review.

How to Securely Install Solar Panels on Metal Roofs While Preventing Roof Leaks
The global solar PV industry is growing rapidly. In 2025, global solar PV additions reached a record 510 GW. Distributed solar is expected to account for 42% of total global PV capacity additions from 2025 to 2030. As more commercial and industrial buildings install rooftop solar systems, the role of industrial fasteners is no longer limited to holding components in place; they must also meet requirements for structural load-bearing capacity, environmental durability, and roof waterproofing. This is driving the industry away from selecting individual fasteners in isolation and toward more application-specific integrated fastening systems that consider connection strength, material durability, installation quality, and roof integrity together.
Want to know more?
Get in touch with us for more information about our services and products.