
Self-Drilling Screw Installation Torque: How to Prevent Overdriving, Thread Stripping, and Seal Failure

Han Congming
AuthorWith experience in screw and fastener manufacturing and sales, we operate our own production facility with stable large-scale capacity. We are specialists in self-drilling screws, drywall screws, chipboard screws, machine screws, bolts, and customized fasteners for construction and industrial applications.
In metal roofing, wall-cladding, light-gauge steel, and steel-to-steel applications, the quality of a self-drilling screw joint is not determined merely by whether the screw penetrates the material. Correct installation torque determines whether threads engage properly, whether the joint develops sufficient clamp load, and whether a connection with an EPDM washer remains weather-tight over time.
Why Installation Torque Is a Joint-Performance Control, Not Just a Tool Setting
Drilling, Thread Engagement, and Clamping Occur in One Installation Cycle
During installation, a self-drilling screw must first penetrate the substrate with its drill point, then form or cut threads into the hole wall, and finally clamp the connected materials together. This single operation combines drilling capacity, thread engagement, and clamp load.
For this reason, acceptance should not be based only on whether the screw appears to be installed. Insufficient installation torque can leave the screw incompletely seated. Excessive torque can cause thread stripping, panel deformation, or damage to the EPDM washer.
The Difference Between Driving Torque, Seating Torque, and Failure Torque
Driving torque is the torque required while the screw drills, forms threads, and advances through the joint. Seating torque is the torque at which the screw head or washer brings the joint to its intended clamping condition. Failure torque is the point beyond which continued driving causes washer damage, thread stripping, screw fracture, or deformation of the substrate.
The target is a controlled torque window, not the highest possible torque. For metal roofing screws, driving beyond the correct seating condition usually increases the risk of failure rather than improving joint performance.
What Defines the Correct Torque Window for Self-Drilling Screws
Screw Diameter, Drill Point, Thread Design, and Head Type
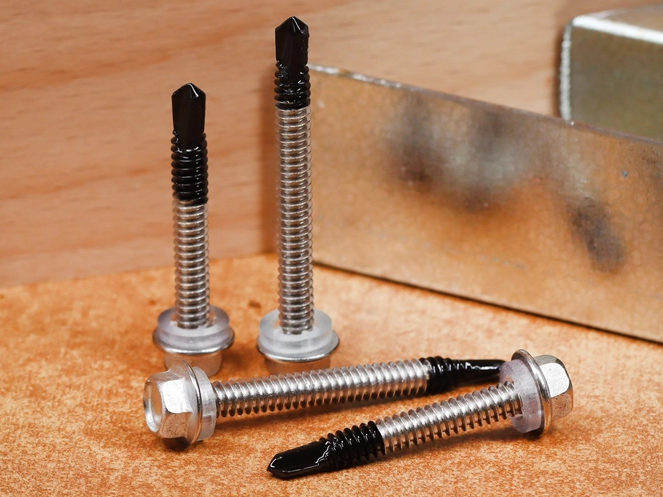
Different diameters, drill point designs, and thread designs create different drilling and thread-forming resistance. Larger diameters, longer drill points, or screws intended for thicker steel generally require a suitable driving system and installation method.
Head type also affects how the load is applied. Hex washer head screws with sealing washers primarily require controlled compression, while countersunk screws are more sensitive to material seating depth and panel deformation. A tool setting that works for one self-drilling screw specification should not be assumed to work for another.
Steel Thickness, Joint Stack-Up, and Required Thread Engagement
Steel thickness, material hardness, the number of connected layers, and total joint thickness directly affect drilling resistance and available thread engagement length. In thin-gauge steel, the amount of material available for thread engagement is limited. Increasing installation torque cannot compensate for inadequate thread engagement; it may enlarge the hole and accelerate thread stripping.
For steel-to-steel fastening, the total connection thickness, load requirement, and expected pull-out performance should be confirmed before installation testing begins. Torque control must be based on a sound joint design.
Driver Speed, Clutch Setting, Axial Pressure, and Socket Condition
Driver speed, clutch setting, axial pressure, and socket wear all affect the torque transmitted to the screw. Excessive speed can generate heat at the drilling area and damage coatings or destabilize the hole condition. Insufficient axial pressure can cause the drill point to slip or burnish the surface instead of drilling efficiently.
A correctly sized, undamaged socket should be used, and the driver should remain aligned with the screw axis. Socket slip can damage the screw head and cause the installer to misjudge the actual driving torque.
The Role of EPDM Washers in Metal Roofing Screw Sealing
In metal roofing screws and wall-cladding fasteners, an EPDM washer fills minor gaps between the screw head, panel coating, and installation hole to create a weather-resistant seal. The objective is even, controlled compression, not complete flattening.
When an EPDM washer is visibly extruded, split, curled, or cut by the screw head, it usually indicates overdriving. Even if leakage is not immediately visible, long-term temperature movement, vibration, and weathering can lead to seal failure.
Overdriving: How Excess Torque Damages the Fastener Joint
EPDM Washer Over-Compression, Distortion, and Cracking
Excessive installation torque can cause an EPDM washer to lose its elastic recovery. Once the washer is forced beyond the edge of the screw head, its thickness becomes uneven and contaminants, condensation, or water can enter the sealing interface.
For long-term outdoor metal roofing performance, the washer should remain intact, evenly compressed, and continuously seated. Over-compression is not stronger sealing; it is an early warning of future seal failure.
Panel Deformation and Loss of a Reliable Weather Seal
When a self-drilling screw is overdriven, the metal panel can be pulled into a local depression around the screw head. This can alter drainage paths, create uneven washer compression, and introduce local stresses around the coated surface.
The deformation may appear minor at installation, but thermal movement, wind loading, and vibration can later turn it into leakage around the metal roofing fastener location.
How Overdriving Can Reduce Long-Term Corrosion Resistance
Excessive installation torque can scratch panel coatings, damage the fastener finish, or create stress concentration where the screw head contacts the panel. For fasteners protected with zinc plating, Ruspert coating, or other corrosion-resistant coatings, installation damage can reduce long-term durability.
In coastal, humid, or industrially polluted environments, corrosion-resistant coatings and controlled installation torque should be managed as one quality requirement rather than as separate issues.
Thread Stripping: Why a Screw Can Turn but Fail to Hold
Insufficient Thread Engagement in Thin-Gauge Steel
In thin-gauge steel, only a limited amount of material is available for the threads to engage. If the connection design cannot provide sufficient thread engagement length, increasing installation torque will not improve holding strength. It will instead deform the hole wall and may cause the screw to spin.
When thread stripping occurs, the first checks should be substrate thickness, screw thread specification, and joint design, rather than simply increasing the driver setting.
Incorrect Drill Point Capacity for the Steel Substrate
The drill point capacity must match the thickness and hardness of the steel substrate. A drill point intended for thin material may perform poorly in thicker steel, resulting in slow drilling, localized heat, irregular hole formation, or abnormal loading on the screw.
Conversely, if the drilling process produces an oversized hole, the threads cannot provide stable pull-out performance. Selecting the correct self-drilling screw specification is the first step in preventing thread stripping.
Excessive Torque, Oversized Holes, and Reduced Pull-Out Resistance
Once the screw approaches the maximum holding condition of the connection, continued torque can compress, cut, or wear away the hole wall. The screw may continue rotating but no longer increase effective clamp load.
A trial installation should confirm that stable thread engagement has formed. After the correct seating condition is reached, driving should stop. Excessive installation torque does not improve pull-out resistance; it increases the likelihood of failure.
Underdriving: The Other Cause of Seal Failure and Loose Fastening
Incomplete Washer Seating and Water-Ingress Risk
When a screw is underdriven, the EPDM washer does not create a continuous seal against the panel. Water can enter around the hole perimeter and move into the joint. In metal roofing and wall-cladding systems, even a small unseated condition can become the starting point of long-term leakage.
Inspection should confirm that the washer is evenly seated against the panel, not merely that the screw is vertical. An under-compressed EPDM washer is as unsuitable as an over-compressed one.
Inadequate Clamp Load in Steel-to-Steel Connections
In steel-to-steel fastening, sufficient clamp load reduces relative movement between connected materials. If installation torque is too low, the joint is more likely to loosen under vibration, temperature changes, or cyclic loading.
This issue is common in light-gauge steel assemblies, metal-panel joints, and equipment enclosures. Installation inspection should therefore check screw seating, contact between connected surfaces, and any visible gap in the joint.
Visible Signs of an Underdriven Self-Drilling Screw
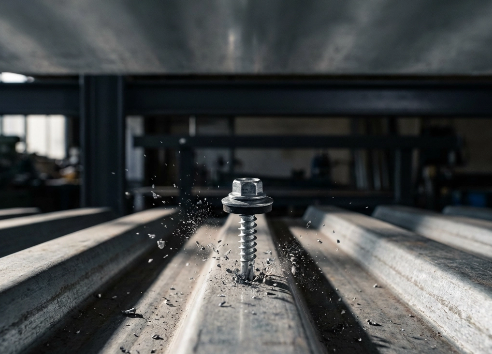
Common signs of an underdriven self-drilling screw include a visible gap between the screw head and panel, an EPDM washer that does not contact the surface evenly, loose connected materials, screw misalignment, or joint layers that have not been drawn together.
When these signs appear, the installer should review tool settings, socket condition, axial pressure, and screw-to-substrate compatibility. Repeatedly applying uncontrolled force to the same screw is not a reliable correction method.
How to Set and Verify Installation Torque Before Production or Site Installation
Establish a Screw-and-Substrate-Specific Trial Installation
Every self-drilling screw specification, steel thickness, and joint configuration should be trial-installed before production or site work begins. The purpose is not to create one universal torque value, but to confirm a suitable installation torque and acceptable installation condition for the actual joint.
After trial installation, inspect drilling efficiency, thread formation, screw seating, EPDM washer compression, and joint contact. For load-bearing connections, the evaluation should also consider required pull-out performance.
Use Calibrated Drivers and Torque Verification Tools
Uncalibrated tools can produce inconsistent driving torque because of clutch wear, battery condition, impact mechanisms, or socket deterioration. In repetitive installation work, tool settings should be checked regularly and verified with appropriate torque verification tools.
Where impact drivers are used, trial installations are especially important. A numbered tool setting does not automatically equal the actual installation torque received by the joint.
Define Visual Acceptance Criteria for Screw Head, Washer, and Panel Surface
Visual standards should cover screw alignment, full head seating, even EPDM washer compression, the absence of panel depressions, and the absence of severe coating damage.
A consistent installation sample gives all installers a common reference point. This turns torque control from a matter of individual judgment into a repeatable quality requirement.
Set Sampling and Re-Inspection Requirements During Installation
Inspection frequency should increase at the start of work, after a tool replacement, when substrate batches change, and when installation personnel change. Sampling should identify not only appearance defects, but also thread stripping, washer damage, and incomplete joint contact.
When a problem is identified, the cause should be traced to screw specification, substrate condition, tool settings, or installation method. Replacing a single screw without addressing the underlying cause does not control self-drilling screw installation quality.
Torque-Control Priorities Across Common Self-Drilling Screw Applications
Metal Roofing and Wall Cladding: Protecting EPDM Washer Sealing Performance
For metal roofing screws, the priority is not maximum clamp load. It is a stable sealing condition. The EPDM washer must be compressed sufficiently to contact the panel evenly, but it must not be flattened, extruded, or damaged.
Screws should also be installed perpendicular to the panel. An angled screw can over-compress one side of the washer while leaving the opposite side insufficiently seated, increasing the risk of seal failure.
Steel-to-Steel Fastening: Maintaining Thread Engagement and Joint Strength
Steel-to-steel fastening requires attention to drill point penetration, effective thread engagement, and the intended clamp load. If drilling becomes unusually slow, torque changes abruptly, or the screw begins to rotate without tightening the joint, the installer should immediately check steel thickness and drill point suitability.
For connections exposed to vibration or repeated loading, the joint should also be reviewed for appropriate anti-loosening measures and inspection intervals. One-time driving torque alone cannot guarantee long-term joint reliability.
Light-Gauge Steel and Thick Steel: Matching Torque Control to Drill Capacity
Light-gauge steel is easier to penetrate but is also more vulnerable to hole deformation and thread stripping when excessive torque is applied. Thick steel requires a drill point with adequate drilling capacity, along with stable tool output and controlled installation speed.
For both light-gauge and thick steel, increasing the tool setting blindly is not the correct response to installation difficulty. The proper approach is to verify the applicable steel-thickness range, drill point specification, and joint design for the self-drilling screw.
Field Troubleshooting: Corrective Actions for Common Installation Failures
The Washer Is Flattened, Split, or Forced Beyond the Screw Head
This condition usually indicates excessive installation torque, an overly high clutch setting, an unsuitable socket, or delayed stopping after the screw is seated. A damaged EPDM washer should not be accepted as a serviceable sealing condition.
Corrective action includes reducing tool output, checking socket-to-head engagement, conducting new trial installations, and replacing damaged fasteners.
The Screw Spins Without Pulling the Materials Together
A spinning screw commonly indicates thread stripping, an oversized hole, insufficient substrate thickness, or a mismatched screw specification. Increasing installation torque at this stage will not restore the connection strength.
The joint thickness, thread engagement, and drill point suitability should be checked. Where necessary, the fastening method should be reassessed rather than repeatedly installing screws into the same compromised hole.
The Screw Is Seated but the Joint Leaks or Loosens After Installation
A screw can appear fully installed while the connection remains unreliable. Leakage may result from a damaged EPDM washer, uneven washer compression, panel deformation, screw misalignment, or coating damage. Loosening may result from insufficient clamp load or unstable thread engagement.
Troubleshooting should treat the screw, washer, panel, and installation tool as one complete fastening system rather than inspecting only one component.
Build a Repeatable Torque-Control Process for Reliable Self-Drilling Screw Installation
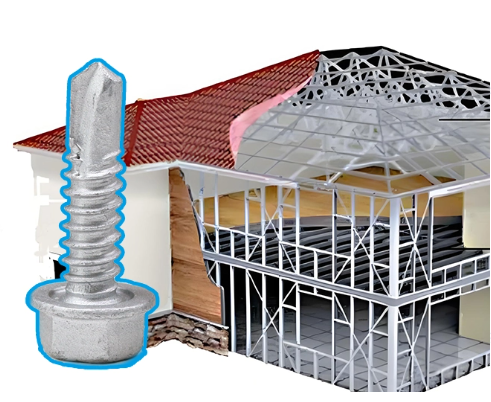
Reliable self-drilling screw installation should not depend on personal feel or visual judgment alone. Trial installation, calibrated tools, visual acceptance standards, process sampling, and root-cause correction create a repeatable torque-control process for different substrates and applications.
For metal roofing screws, steel-to-steel fastening, and other critical connections, correct installation torque is part of joint performance. Only by controlling drilling capacity, thread engagement, clamp load, and EPDM washer sealing can installers reduce the risk of overdriving, thread stripping, and long-term seal failure.
Where the application involves a non-standard steel thickness, coating system, or joint stack-up, the project team should confirm the relevant technical requirements through Screwtrade’s contact before defining the final installation procedure.
Related News
Other news you might be interested in
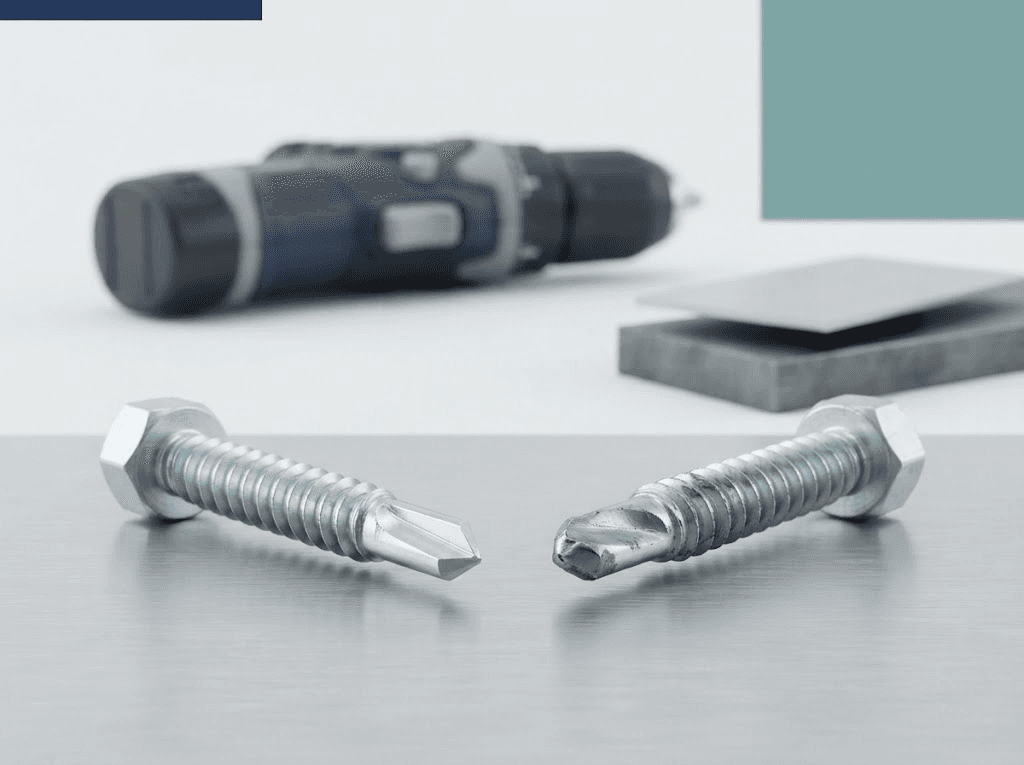
Why Self-Drilling Screws Fail to Drill: A Substrate and Installation Checklist
When a self-drilling screw spins against steel without making progress, the purchasing decision becomes urgent: should the installer change the tool settings, should the buyer order a different screw, or should the supplier investigate the batch?A useful diagnosis starts by identifying exactly where drilling stops. Record the material at that point, check the selected screw against the assembly, and then compare installation conditions. This approach gives buyers a clearer basis for deciding what to change and what evidence to request.
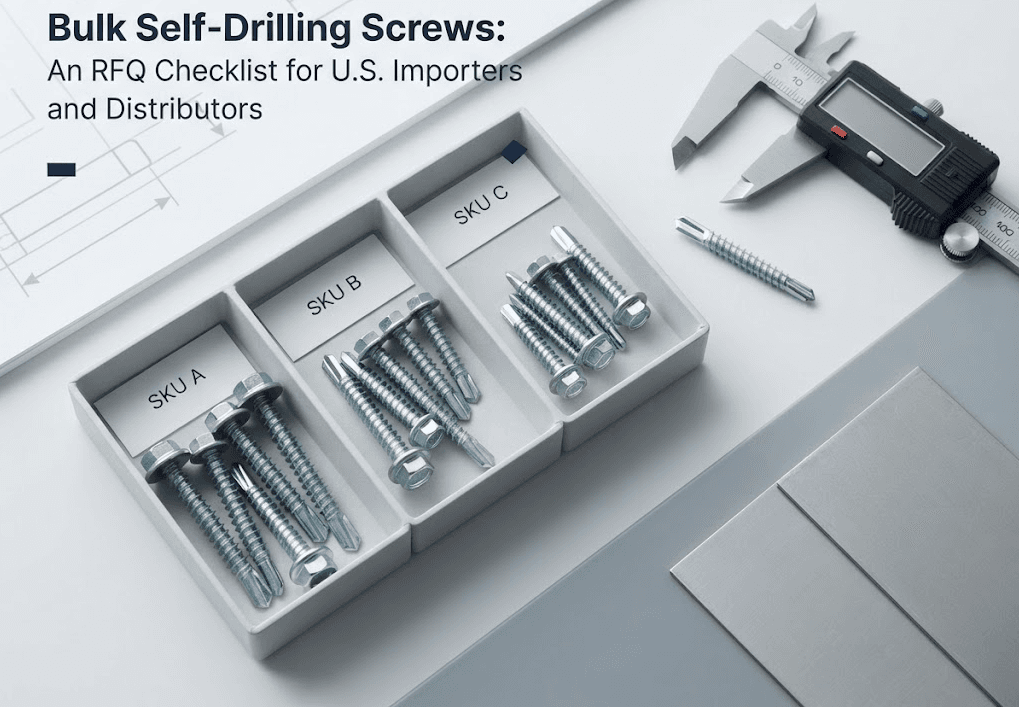
Bulk Self-Drilling Screws: An RFQ Checklist for U.S. Importers and Distributors
When sourcing bulk self-drilling screws, a unit price is only useful if you know exactly what it covers. Two quotations may appear to describe the same product while differing in dimensions, coating, packaging, or delivery conditions. For U.S. importers and distributors managing several SKUs, those differences can make supplier comparisons difficult. A clear request for quotation—an RFQ—helps suppliers understand your requirements and gives your purchasing team a consistent basis for reviewing their offers. This checklist explains what to include, which details need confirmation, and how to turn an initial inquiry into a specification that both buyer and supplier can review.
Want to know more?
Get in touch with us for more information about our services and products.